How To Install A Trailer Hitch: A DIY Guide
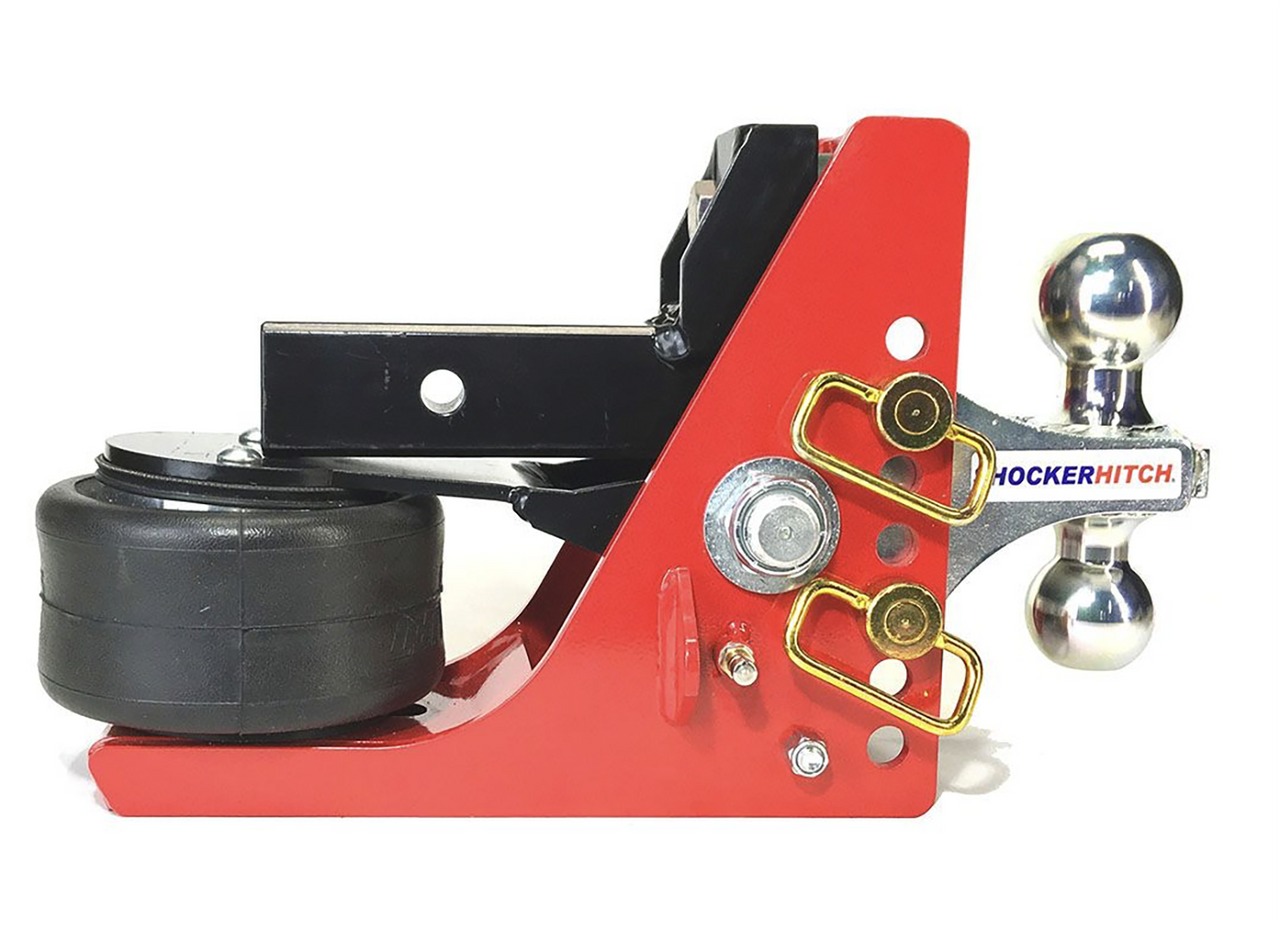
Installing a trailer hitch is a practical skill that enhances your vehicle's utility, allowing you to haul everything from boats and RVs to cargo trailers. Whether you're planning a camping trip or need to move heavy equipment, a reliable trailer hitch is essential. This guide will walk you through the process, from selecting the right hitch to the final checks.
What is a trailer hitch, and why might you need one?
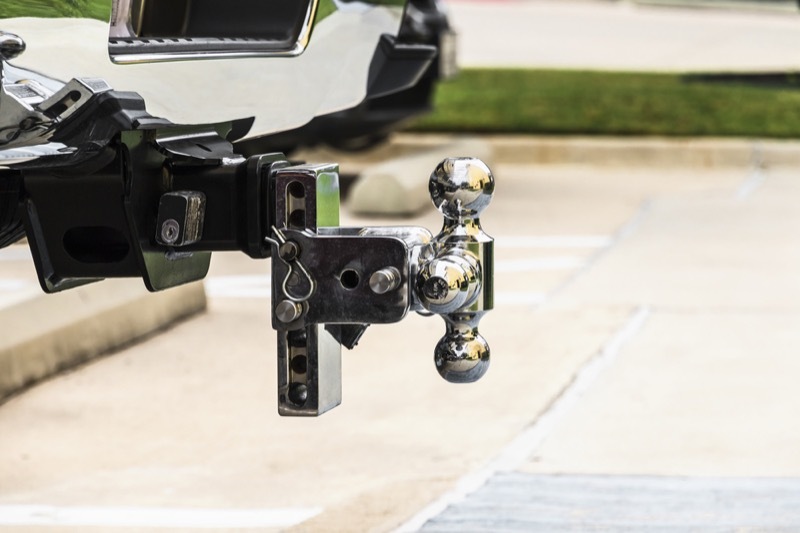
A trailer hitch is a device attached to the chassis of a vehicle for towing. It's crucial for anyone looking to transport additional cargo or tow a trailer, boat, or recreational vehicle. The right hitch not only expands your vehicle's capabilities but also ensures safety on the road.
Why might you need one? The reasons are as varied as the loads you might want to haul. For adventurers, a trailer hitch allows for the easy towing of camping trailers or boat trailers, making weekend getaways more enjoyable. For homeowners, it facilitates the transport of garden supplies, furniture, or waste to the dump. Commercially, it's indispensable for businesses that require the transportation of goods, equipment, or machinery.
Why is it important to install a trailer hitch correctly?
Getting your trailer hitch installed right is important, mainly because it keeps you and everyone else on the road safe. If it's not hooked up properly, there's a chance your trailer could come loose and cause a major accident. A good install protects your vehicle as well. Mess it up, and you might damage your car or the hitch, leading to some expensive fixes. So, it's all about making sure things stay secure and your vehicle stays in good shape.
What tools are needed for installing a trailer hitch?
Before you dive into installing a trailer hitch, it's essential to have all the right tools and materials at hand. This preparation not only makes the installation process smoother but also ensures that everything is done safely and correctly. A complete set of tools not only aids in a hassle-free installation but also helps in tackling any unexpected challenges that may arise during the process.
Some of the tools and materials needed to install a trailer hitch include:
Trailer Hitch Kit: This is your starting point, including the hitch itself, all the necessary mounting hardware, and instructions specific to your vehicle and hitch model.
Wrenches: You'll need a set of wrenches that match the size of the bolts you'll be working with. These are crucial for tightening and securing the hitch to your vehicle.
Socket Set: A comprehensive socket set allows you to work with different sizes of nuts and bolts, ensuring you have the right tool for each part of the hitch.
Torque Wrench: This tool is vital for applying the correct amount of torque to the hitch bolts, ensuring they are neither too loose (which could lead to the hitch coming off) nor too tight (which could strip the threads or damage the vehicle).
Jack and Jack Stands: These are used to lift and support the vehicle safely while you work underneath it. Safety is paramount, so ensure these are sturdy and rated for your vehicle's weight.
Safety Glasses: Protecting your eyes from any debris, dust, or accidental sparks during the installation process is essential. Safety should always be your top priority.
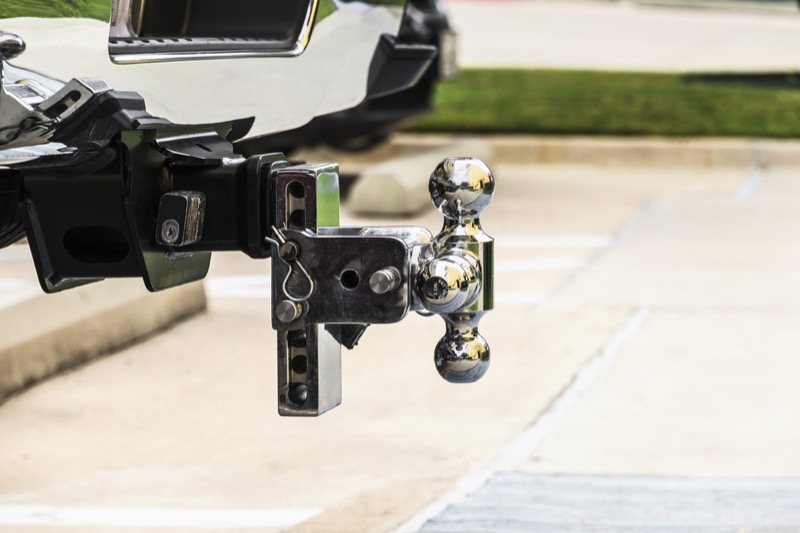
Step-by-Step Hitch Installation Guide
Whether you’re a seasoned DIY enthusiast or a first-timer, following a step-by-step guide can help you achieve a secure installation.
Step 1: Gather Necessary Equipment
Start by making sure you have all the required tools and materials listed in the previous section. Having everything within reach will streamline the installation process and reduce the need to stop midway through to find missing items.
Step 2: Prepare Vehicle
Ensure your vehicle is parked on a flat, stable surface and engage the parking brake. Use the jack to lift the vehicle slightly, then place the jack stands at secure lifting points under the vehicle to support it safely while you work.
Step 3: Position Hitch
Carefully align the hitch under your vehicle according to the instructions. It's crucial to line up the hitch with the pre-existing holes or mounting points on your vehicle's frame.
Step 4: Attach Hitch to Frame
Hand-thread the bolts through the hitch and into your vehicle’s frame to secure it in place. Once all bolts are hand-tight, use a wrench and socket set to tighten them. Avoid fully tightening at this stage to allow some adjustment.
Step 5: Secure Safety Chains
If your hitch has safety chain attachments, connect them now. Ensure the chains are easily accessible and do not drag on the ground when in use.
Step 6: Install Wiring Harness (if applicable)
For hitches used to tow trailers requiring brake lights and turn signals, attach the wiring harness following the manufacturer’s guidelines. Secure the wiring to prevent it from hanging or dragging.
Step 7: Test Fit Accessories
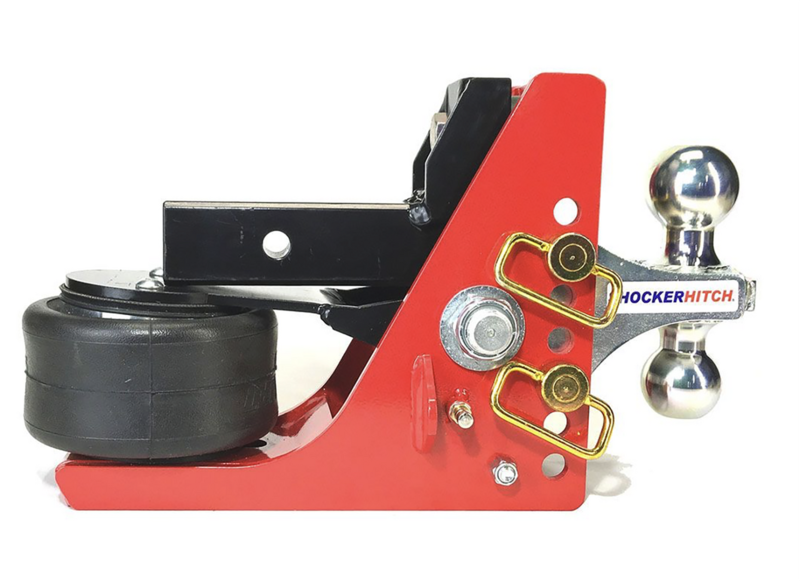
Fit any accessories such as ball mounts, bike racks, or cargo carriers to check for proper fit. Make adjustments as needed to ensure compatibility and security.
Step 8: Perform Final Checks
Go back to each bolt and use a torque wrench to tighten them to the specifications provided by the hitch manufacturer. This ensures that the hitch is securely attached to your vehicle's frame.
Step 9: Lower Vehicle and Test
Carefully remove the jack stands and lower your vehicle. Conduct a visual inspection to ensure the hitch is securely in place and there is no interference with the vehicle's undercarriage or exhaust. Finally, attach a trailer or accessory and perform a test drive to ensure everything is working as it should, paying close attention to the hitch’s performance under load.
How much does it cost to install a trailer hitch?
The cost of installing a trailer hitch can vary widely based on several factors, including the type of hitch, the make and model of your vehicle, and whether you choose to install it yourself or have it professionally installed. On average, the price for a professional hitch installation can range from $100 to $800. This range accounts for the hitch itself, which can cost between $50 to $250, and the labor, which can vary greatly depending on the complexity of the installation and the rates charged by the service provider.
DIY installations can significantly reduce costs, primarily to the price of the hitch and any tools or accessories you may need to purchase. However, this option requires a certain level of mechanical skill and confidence. For those who choose the professional route, it's worth noting that some retailers offer package deals that include the hitch and installation at a discounted rate, making it a potentially more cost-effective and convenient option.
How long does it take to install a trailer hitch?
Generally, a professional installation might take between 30 minutes to 2 hours. This timeframe assumes the vehicle is prepared for installation without any modifications needed.
For DIY enthusiasts, the process might take a bit longer, especially if it's your first time. You can expect it to take anywhere from an hour to several hours. The variance is due to familiarizing yourself with the instructions, ensuring you have the correct tools, and possibly needing to make minor adjustments to ensure a perfect fit.
How do you effectively maintain and care for your trailer hitch after installation?
Maintaining and caring for your trailer hitch after installation is essential to ensure its longevity and functionality. Proper maintenance not only prevents wear and tear but also ensures that your hitch remains safe and reliable for towing.
From regular inspections to following manufacturer guidelines, each step in the maintenance process plays a crucial role in keeping your hitch in top condition.
1. Regular Inspection
Inspect your hitch regularly for any signs of rust, corrosion, or damage. Check all components, including the hitch ball, mounting system, and electrical connections, for wear or deterioration.
2. Cleaning
Keep your hitch clean from dirt, grime, and road salt, which can contribute to rust and corrosion. Use a mild soap and water solution and avoid abrasive cleaners that can damage the finish.
3. Lubrication
Apply a thin layer of grease to the hitch ball and moving parts to reduce friction and prevent rust. Ensure the locking mechanisms are also lubricated to keep them operating smoothly.
4. Tighten Bolts and Nuts
Check the bolts and nuts periodically to ensure they are tight and secure. Vibration from towing can loosen these fasteners over time, potentially leading to a hazardous situation.
5. Replace Worn Parts
Inspect all parts of your hitch system and replace any that show signs of excessive wear or damage. This includes the hitch ball, pins, and electrical components if applicable.
6. Protective Measures
Use hitch covers to protect the hitch ball and receiver when not in use. This can prevent rust and keep the hitch clean, reducing the need for frequent cleaning.
7. Weight Limits
Adhere strictly to the weight limits specified by the hitch manufacturer. Overloading your hitch can cause damage and put you at risk while towing.
8. Proper Storage
If your hitch is detachable, store it in a dry, covered area when not in use to protect it from the elements and reduce the risk of rust and corrosion.
9. Follow Manufacturer Guidelines
Always refer to the manufacturer's maintenance and care guidelines. They provide specific recommendations tailored to your hitch model to ensure optimal performance.
10. Professional Inspection
Consider having your hitch system professionally inspected annually, especially if you tow frequently or under challenging conditions. A professional can identify potential issues that may not be obvious to the average user.
Frequently Asked Questions (FAQs)
Let's explore some of the most frequently asked questions about trailer hitch installation.
Can I Install a Trailer Hitch Myself?
Yes, many vehicle owners can install a trailer hitch by themselves, especially if they have basic mechanical skills and the right tools. Most hitch manufacturers provide detailed instructions and necessary hardware for installation. However, the ease of installation can vary depending on the vehicle model and the type of hitch. Some vehicles may require minor modifications or special tools.
Is installing a trailer hitch easy?
The difficulty of installing a trailer hitch varies widely. For some vehicles, it's a straightforward process requiring no drilling and just basic hand tools. For others, the installation might be more complex, requiring drilling, cutting, or even temporary removal of parts like the bumper. The key to a smooth installation process is thoroughly reading and understanding the instructions before starting and ensuring you have all the necessary tools and equipment.
Is it worth it to install a trailer hitch?
Absolutely. Installing a trailer hitch significantly increases your vehicle's versatility and capability. It allows you to tow trailers, boats, or campers, and it can also be used to mount a bike rack or cargo carrier, expanding your vehicle's carrying capacity. Whether for recreational use, home improvement projects, or expanding business capabilities, a trailer hitch is a valuable addition to any vehicle, offering both convenience and utility.
Towing Made Simple With Norstar Company
Adding a hitch to your vehicle opens up a world of possibilities, from towing trailers and boats to enhancing storage with bike racks and cargo carriers. The key to a successful installation and maintenance lies in following the right steps, using the appropriate tools, and understanding the importance of regular upkeep.
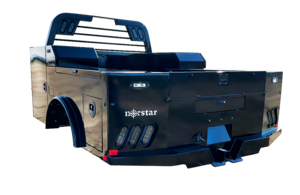
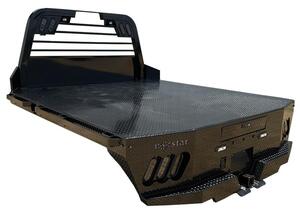
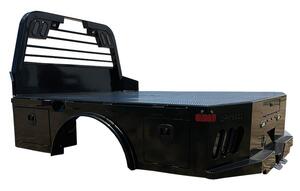
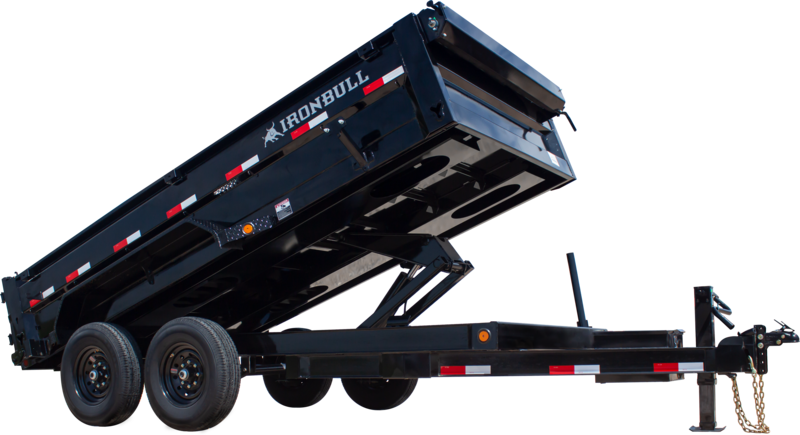
At Norstar, we're not just about providing top-quality trailer hitches. We're also here to ensure you have the best possible experience with your towing needs. Our products are designed to meet the rigorous demands of towing, ensuring you can haul confidently, whether for work or play. We also offer Trailer Financing and Loans. This option is designed to make it easier for you to acquire the necessary equipment without financial strain, ensuring you can get on the road safely and efficiently.
Visit Norstar Truckbeds & Iron Bull Trailers today for more information on our products, financing options, or advice on choosing the right hitch for your vehicle.


