The Complete Guide to Replacing Trailer Brakes
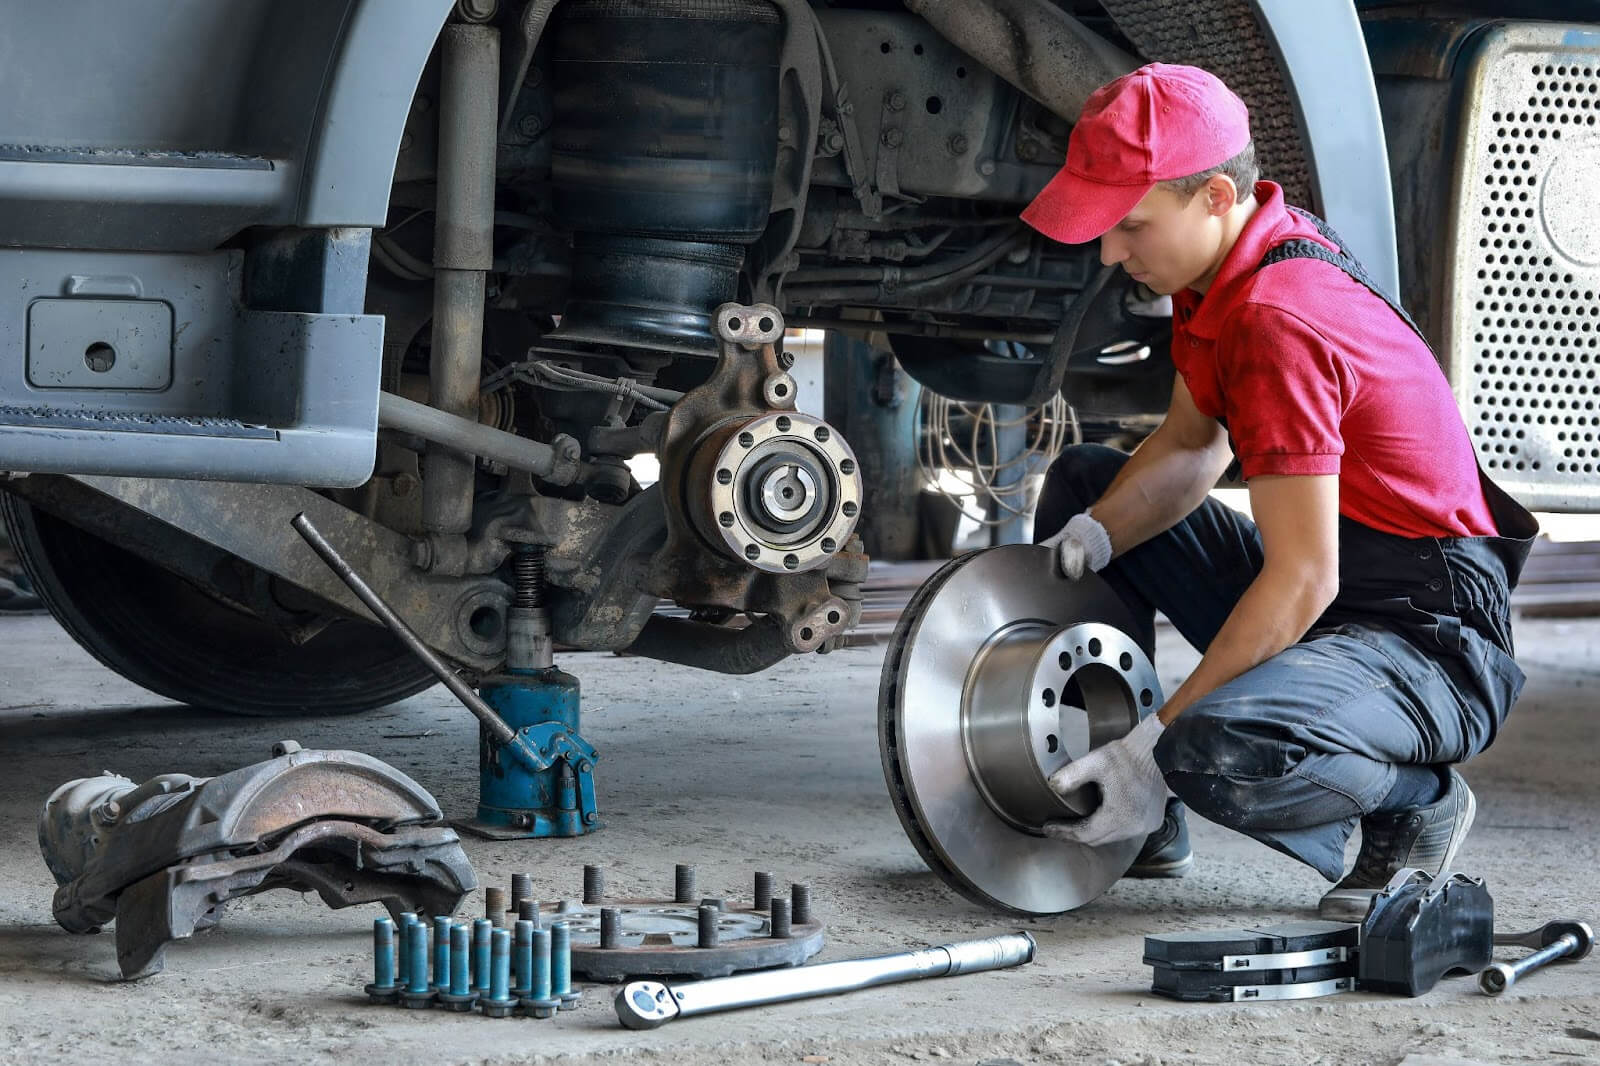
Traveling with a trailer in tow means you're not just responsible for the safety of your vehicle, but also for the security of your cargo and the safety of others on the road. One of the most critical components ensuring this safety is your trailer's braking system. Over time, brakes wear down, lose effectiveness, and require replacement to maintain optimal performance. Whether you're an experienced DIY enthusiast or a first-timer ready to tackle maintenance tasks, understanding how to change trailer brakes is essential.
This comprehensive guide will walk you through every step of the process, from identifying the type of brakes your trailer uses to the tools you'll need and a step-by-step walkthrough of the replacement process. By the end, you'll be equipped with the knowledge to ensure your trailer brakes are in top condition, keeping your journeys smooth and safe.
Importance of Proper Trailer Brake Maintenance
Keeping your trailer brakes in top shape is crucial not just for your safety, but for everyone else on the road too. Well-maintained brakes mean you can stop reliably and safely, no matter the load you're hauling. Besides avoiding accidents, this also means dodging costly repairs down the line. Ignoring your brake maintenance can lead to bigger, more expensive problems, and nobody wants that.
Plus, staying on top of your brake condition keeps you on the right side of the law, as many places have strict rules about vehicle safety. In short, regular brake checks save you money, keep you legal, and, most importantly, keep you safe.
Types of Trailer Brakes
Knowing what type you've got on your trailer is key because it affects how you'll maintain them and how well they'll do their job of keeping you safe on the road. Here's a brief overview:
Drum Brakes
A traditional choice for many trailers, drum brakes work by pushing brake shoes against a spinning drum attached to the wheel. This friction slows the trailer down. They're known for their durability and cost-effectiveness but may require more frequent adjustments and maintenance to perform optimally.
Disc Brakes
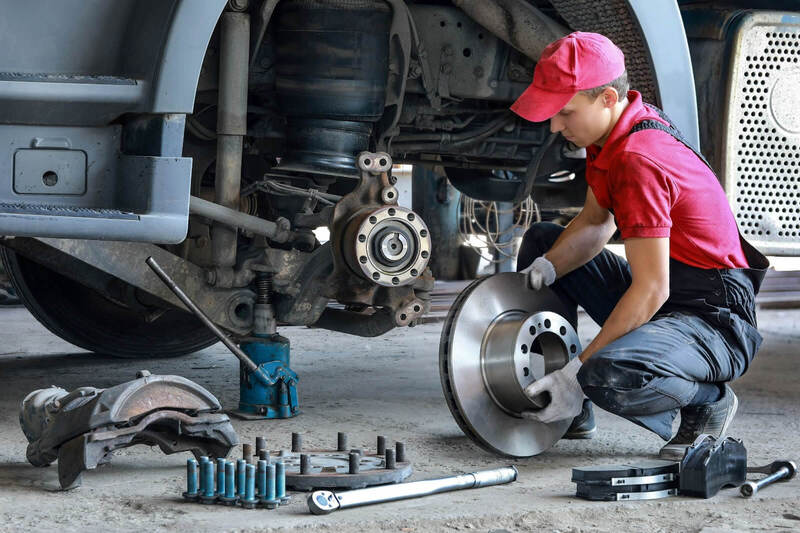
These brakes function by pressing brake pads against a disc (or rotor), which is connected to the wheel, to create friction and slow the trailer. Disc brakes are praised for their superior stopping power and efficiency, especially under heavy loads or in wet conditions. They tend to have better heat dissipation, reducing the risk of brake fade during prolonged use.
Electric Brakes
Electric trailer brakes are activated by a brake controller from the towing vehicle, allowing for adjustable braking strength. This system is straightforward to install and use, offering good control over the braking process. Electric brakes are especially suitable for larger trailers, providing consistent performance and ease of integration with the tow vehicle's braking system.
Tools and Materials Needed
When it's time to replace your trailer brakes, having the right tools and materials on hand is crucial. Here’s a rundown of what you'll need to get the job done properly and safely:
1. Jack and Jack Stands
You'll need these to lift and securely support your trailer. Make sure they're rated for the weight of your trailer to ensure safety while you're working underneath.
2. Lug Wrench or Impact Wrench
These are necessary for removing the wheels to access the brakes. An impact wrench can make the job quicker, but a sturdy lug wrench will also do the trick.
3. Socket Set
A comprehensive socket set is essential for removing and securing various nuts and bolts throughout the brake replacement process.
4. Brake Cleaner
This helps clean the brake assembly and surrounding area, removing grease and grime for a cleaner work environment and better brake performance.
5. New Brake Parts
Depending on the type of brakes you're working with (drum, disc, or electric), you'll need new brake shoes or pads, and possibly new drums or rotors. Make sure you have the correct parts for your specific trailer model.
6. Adjustable Wrench and Pliers
These tools are handy for adjusting components and handling parts that may be difficult to maneuver with sockets alone.
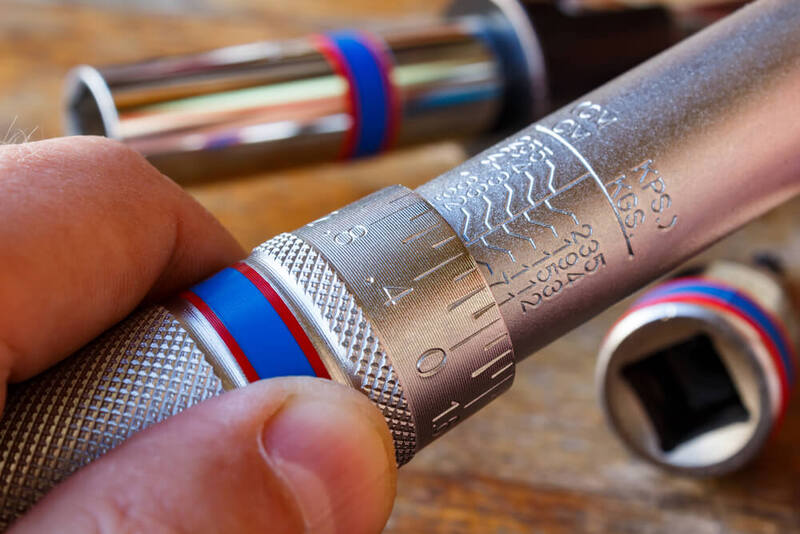
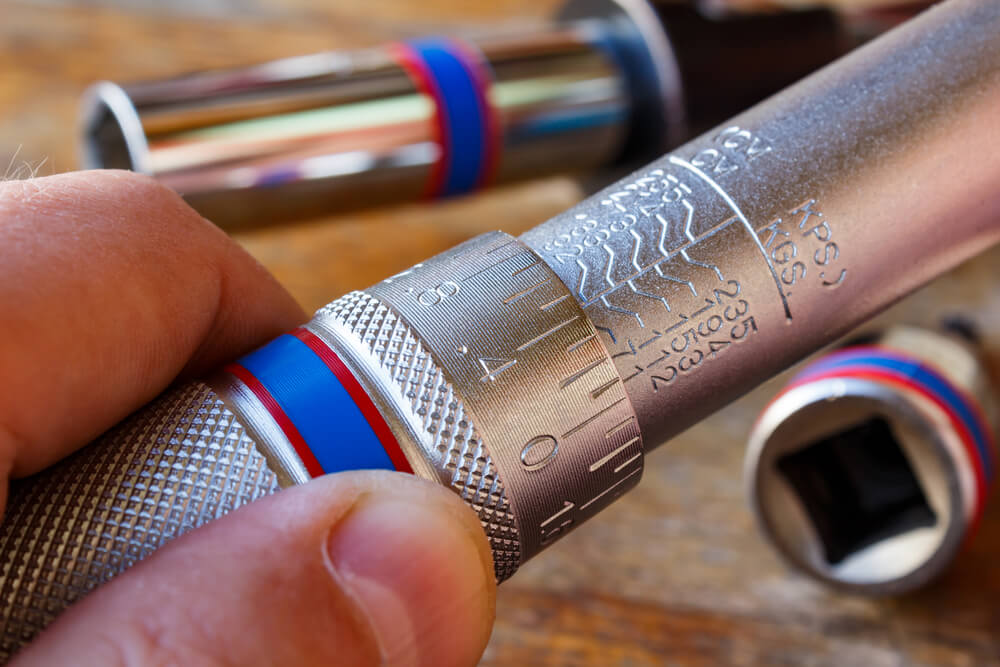
7. Torque Wrench
Essential for tightening bolts to the manufacturer's specified torque, ensuring everything is secure and safe for operation.
8. Rubber Mallet
Brake components can be a bit stubborn sometimes. A rubber mallet can help loosen parts without damaging them.
9. Safety Glasses and Gloves
Always protect your eyes and hands from dirt, debris, and chemicals during the process.
10. Brake Adjustment Tool (for drum brakes)
If you're working with drum brakes, this specialized tool helps adjust the tension on the brake shoes.
Performing a Brake Controller Inspection
The brake controller is a big deal when it comes to towing safely, making sure your trailer stops when you do, smoothly and safely. So, how do you make sure this essential piece of your towing setup is always ready for action? Let's walk through checking your brake controller, ensuring every journey is as safe as the last.
1. Visual Inspection
Start with a basic visual check. Look for any obvious signs of wear or damage to the controller itself, the wiring, and connections. Make sure everything is securely mounted and that there are no loose or frayed wires.
2. Power Check
Next, verify that the brake controller is receiving power. Most controllers have an LED light or display that illuminates when connected properly. If there's no sign of power, check your vehicle's fuse box for a blown fuse or bad connection.
3. Adjustment Settings
Review the settings on your brake controller. Different loads and driving conditions may require adjustments to ensure optimal braking performance. Refer to the manufacturer's guidelines for setting adjustments based on your specific towing situation.
4. Test the Controller
The best way to test the brake controller is with a test drive. Find a safe, traffic-free area to perform this test. As you drive, apply the brakes to see how the trailer responds. The trailer should slow down smoothly without jerking. If the braking feels too aggressive or too weak, adjust the controller settings accordingly.
5. Check for Responsiveness
During the test drive, also pay attention to how responsive the brakes are. There should be no delay from the moment you apply the brakes in the towing vehicle to when the trailer begins to slow down. Any lag could indicate a problem with the controller or its connection to the trailer.
Why is an inspection important?
A properly functioning brake controller is essential for safe towing. It ensures that your trailer brakes at the same time and with the same intensity as your towing vehicle, preventing dangerous situations like jackknifing or losing control. Regular inspections and adjustments to your brake controller can significantly improve your towing experience, making it safer for you, your cargo, and others on the road.
How to Replace Trailer Brakes: Step-By-Step Guide
Tackling the job of replacing your trailer brakes might seem daunting, but with the right tools and a bit of know-how, it's a task you can take on to ensure your trailer remains a safe and reliable companion on the road. Here's a straightforward, step-by-step guide to walk you through the process, making sure you get it right from start to finish.
Step 1: Lift and Secure the Trailer
First things first, you need to safely lift the trailer high enough so that the wheels are off the ground. Use a reliable jack for lifting and then place jack stands under the trailer frame to keep it securely elevated throughout the process. Safety is key, so double-check that everything is stable before moving on.
Step 2: Remove the Wheels
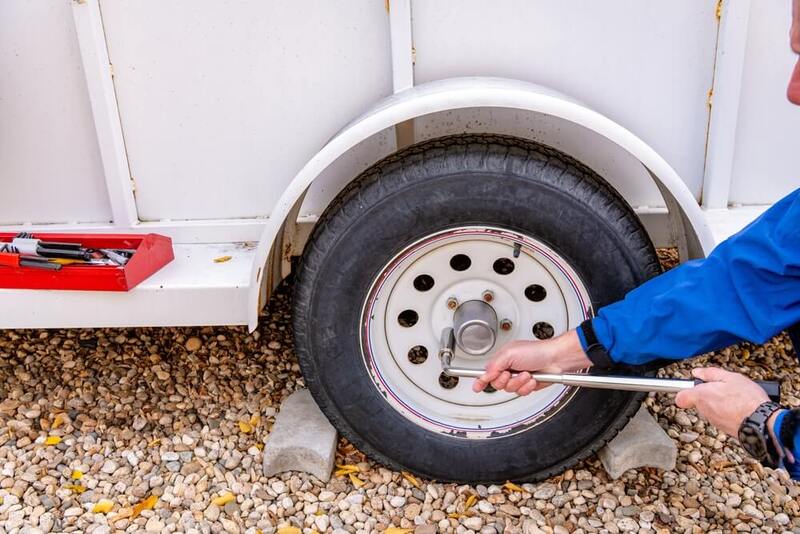
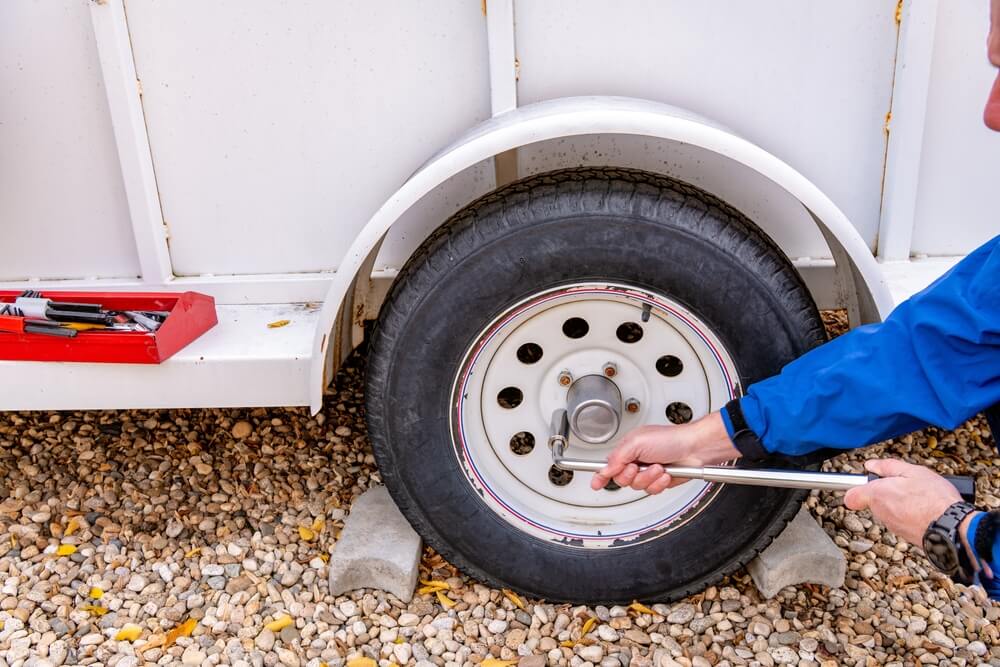
With the trailer securely lifted, remove the wheels to access the brakes. Use a lug wrench or an impact wrench to loosen and remove the lug nuts, then pull the wheels off. Keep the lug nuts in a safe place so you don't lose them.
Step 3: Expose the Inner Brake Drum
Now, you'll need to remove the hubcap (if present) and any other components blocking access to the brake drum. This might include cotter pins and retaining nuts. Once these are removed, you can pull the drum off, exposing the brake components inside.
Step 4: Inspect the Brake Drum Assembly
Before you proceed with replacing anything, take a moment to inspect the brake drum assembly. Look for signs of wear, such as deep grooves or scoring on the drum surface. This is a good time to decide whether the drum needs replacing or if it can be resurfaced.
Step 5: Remove and Replace Brake Components
Carefully remove the old brake shoes (or pads, if you're working with disc brakes), springs, and any other worn components. Compare the old parts with the new ones to ensure a correct match, then install the new components, making sure everything is positioned correctly and securely.
Step 6: Reassemble and Adjust Brakes
Once the new brake components are in place, reattach the brake drum or disc. Then, adjust the brakes according to the manufacturer's instructions. For drum brakes, this usually means adjusting the tension so the brake shoes are close to the drum but not dragging.
Step 7: Test the New Brakes
After reassembling everything, it's crucial to test the new brakes to ensure they're working correctly. Lower the trailer and reattach the wheels. Tighten the lug nuts securely. Then, take the trailer for a slow test drive in a safe area, applying the brakes to check for proper function. Listen for any unusual noises and feel for any vibrations that could indicate a problem.
Replacing your trailer brakes is a hands-on way to maintain your trailer's safety and performance. While it might take a bit of effort, the peace of mind knowing you've done the job right is well worth it. Remember, if you're ever unsure about any step of the process, consulting a professional is always a smart move.
Tips for Maintaining Trailer Brakes
Maintaining your trailer brakes is key to ensuring your safety and prolonging the life of your trailer. Here are some practical tips to keep them in top shape:
1. Regular Inspections
Make it a habit to inspect your brakes regularly. Look for wear and tear on brake pads, drums, and rotors, and check for any signs of rust or damage.
2. Keep Them Clean
Use a quality brake cleaner to remove dirt, grime, and grease from the brake assembly. This helps maintain optimal braking performance and prevents buildup that can cause damage.
3. Adjust When Necessary
Especially for drum brakes, ensure they are properly adjusted. Over time, brakes can become too loose or too tight, affecting performance.
4. Monitor Brake Fluid
Check the brake fluid levels periodically and top up if needed. Also, replace the brake fluid according to the manufacturer's recommendations to prevent moisture buildup, which can lead to brake failure.
5. Check for Leaks
Regularly inspect the brake lines and couplings for leaks. Even a small leak can lead to a loss of hydraulic pressure, making your brakes less effective.
6. Listen for Noises
Pay attention to any unusual sounds when braking, such as squealing or grinding. These noises can be early warning signs of brake wear or damage.
7. Feel for Changes
Be aware of any changes in the braking performance, such as the trailer pulling to one side when braking or the brake pedal feeling spongy. These could indicate problems that need immediate attention.
8. Replace Worn Parts Promptly
Don't delay replacing worn or damaged brake parts. Using worn brakes not only puts you at risk but can also cause further damage to your braking system.
9. Use High-Quality Replacement Parts
When replacing brake components, opt for high-quality parts that meet or exceed OEM specifications. This ensures reliability and longevity of your braking system.
10. Seek Professional Help When Needed
If you're ever unsure about the condition of your brakes or how to perform maintenance, don't hesitate to consult with a professional. It's better to be safe than sorry.
Keeping Safe on the Road
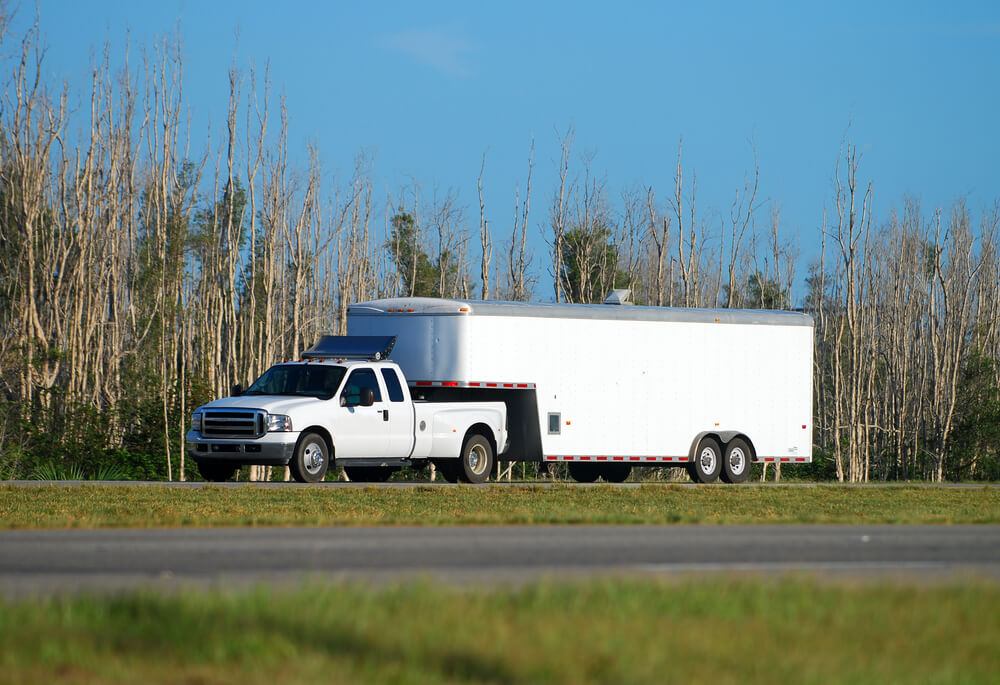
Looking after your trailer brakes is your ticket to safe travels, no matter where you're headed. Whether you're pulling a load for work, heading out on a weekend adventure, or anything in between, making sure your trailer's brakes are in good shape is crucial for keeping things safe on the road. That's why it's also so important to not skimp on quality when you're picking out new brake parts. Get parts only from trusted dealers like Norstar Company. Known for their top-notch trailer parts and accessories, Norstar is the go-to for reliable brake components that you can trust to do the job right.


